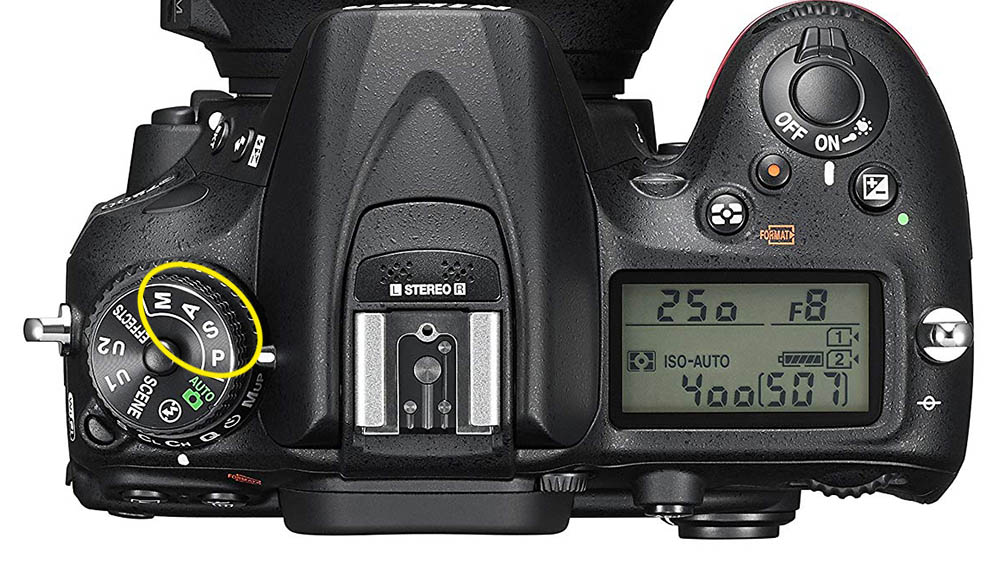
Using a DSLR, mirrorless and many other cameras, you have the option to select your basic exposure mode in the camera: this can be shutter priority, aperture priority, or full manual mode.
Different camera brands might call these functions different names, but they are the same principal regardless of which camera you’re using.
Most cameras also have other exposure mode options which give you less control, such as full Auto mode where the camera does everything, Program modes, and other modes specific to a certain brand or camera model. Entry level cameras are more likely to have many more exposure modes, while professional level camera bodies generally only have the most important ones that we cover in this guide.
This article will focus on two of the most important exposure modes we have when it comes to photographing birds: aperture priority and shutter priority. I’ll also be comparing these to Manual mode throughout.
Different birding situations and environments call for different ways of using your camera, and what works well in one scenario, or what might be ideal for one situation, might not be the best option in another. The key is to learn what works well and when, and only then will you gain the confidence to use your camera as a tool with the right settings to get the job done.
Because remember: every exposure mode is simply a different way of helping you achieve the same goal – which is to expose the image as well as you can while freezing the action of the bird (or whatever it is you’re trying to achieve with your photo).